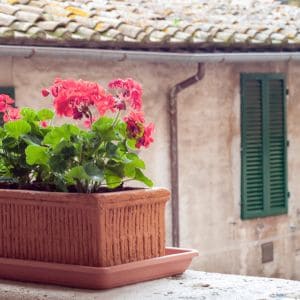
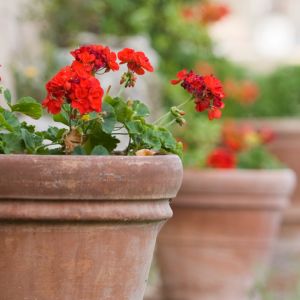
|
Home =>
Home Decorating => Bedroom Decor => Decorating with Sponge Painting
Decorating with Sponge Painting
by Cindy Snyder - cmc@creativemortgageco.com
Description: Tips and tricks for getting started with sponge painting.
Sponsors:
Have you tried sponge painting? I just recently painted my kitchen
using this technique and was amazed at how professional it looks. It
is really easy to do and much less messy than the traditional way of
rolling it on. Let me say upfront that I do not like to paint. I am
just not coordinated enough. I always make a big mess, end up with
paint all over me, the floor, etc. This was really the easiest paint
job I ever did and it was really simple. The best part was the clean-
up! But you know what? It's cheaper too than rolling it on because you
are using less paint! I recommend getting a quart to start with, you
can always go back for more. I had at least 3/4 of a gallon left over.
All you need is a pan to pour small amounts of paint into and a sponge.
I was told that you can use just a regular household sponge, but I
splurged
on the sea sponge since this was my first try and it was not very
expensive.
You can buy the sea sponge in the paint department of Home Depot or
Wal-Mart.
I cut mine in half since I wanted to go with a smaller pattern.
First, wet your sponge and squeeze it out. You don't want to get a lot
of
paint on your sponge. It should not be full of paint, just dab it in
the
paint and then wipe off any excess on your pan. If you have to quit for
awhile and then go back, wash your sponge out good and be sure to wet it
again before you start.
Start by dividing your wall. I don't have a lot of wall space in my
kitchen
so this part was easy. But the idea is that you divide your wall into
four
quadrants. Then start in your first quadrant. Basically, you just "dab"
it
on with your sponge. How much? It depends on how much depth you want
of the
new color. You should dab it in a criss cross or X pattern. Example,
top left,
bottom right, top right, bottom left and just fill in so that it looks
the way
you want. Try less paint at first pass, you can always add more if you
think you
need to fill in the holes.
My husband was kind of leery of this paint project. He tried to talk me
into
trying it in the bathroom first. (Less people would see it, if it
looked terrible,
I guess). I told him I was going to go for it. If it looked terrible,
I could
always go back and roll it on! You should have seen his face when he
walked in the
door. He couldn't believe how great it looked! Now that I know how
easy it is, I
plan to do the bathroom next, but I am going to try using two
coordinating colors.
Reprinted with permission.
Comment on this article or submit your tip to CreativeHomemaking.com.
Click here for a printer friendly version of this page.
Receive new article links via the Web, SMS, or instant messages via Twitter!
Recommend this article to a friend!
Search our article archives.
Click here to subscribe to our weekly newsletter.
FamilyStickers.com offers one of the largest selections of family stickers, family car decals, and stick family stickers. These easy to apply vinyl window family car stickers are available in several themes and sizes or customized to your request.
|