A Beginner’s Guide to Canning Green Beans
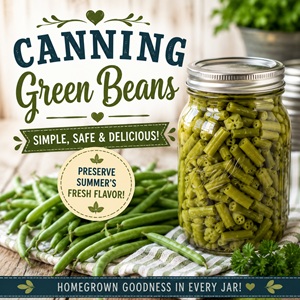 Learn how to can fresh green beans and enjoy your garden harvest all year long! This easy step-by-step canning tutorial is perfect for beginners and a great way to stock your pantry with homegrown goodness. Serve them with weeknight dinners, holiday meals, soups, stews, and casseroles.
Green beans are one of the easiest vegetables to grow in your garden. In no time you will be swimming in green beans! Canning is a great way to preserve green beans so that you can enjoy them all winter long. If you are new to pressure canning, canning green beans is a great way…
Read More A Beginner’s Guide to Canning Green Beans