Natural Limescale Remover (Easy DIY Recipe That Actually Works)
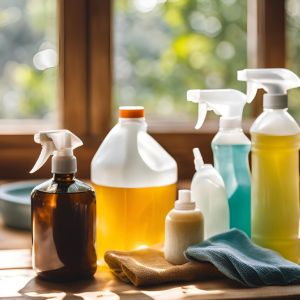
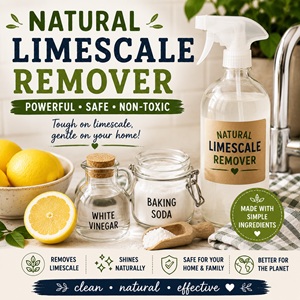 Tired of hard water stains making your faucets and sinks look cloudy no matter how much you clean? This natural limescale remover uses lemons, vinegar, and baking soda to help break down buildup naturally. A simple homemaking favorite for simple homemade living, practical home care tips, and a fresher-feeling home!
If hard water stains are making your faucets, sink, shower door, or kettle look cloudy no matter how much you clean, you are not alone. Limescale has a way of making everything feel dingy fast. One day your faucet shines, and the next it somehow looks like it aged ten years overnight. The good news?…
Read More Natural Limescale Remover (Easy DIY Recipe That Actually Works)