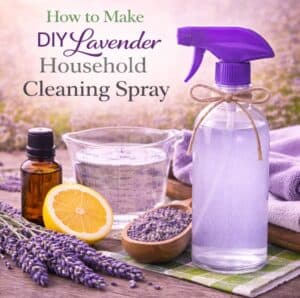
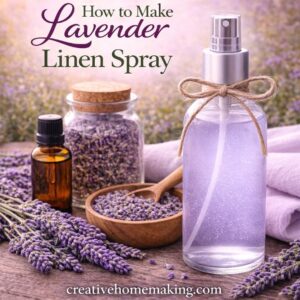
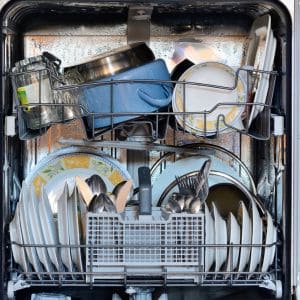
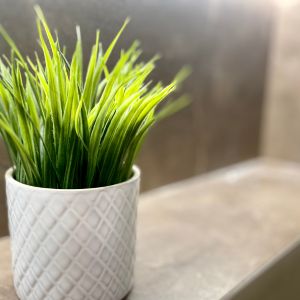
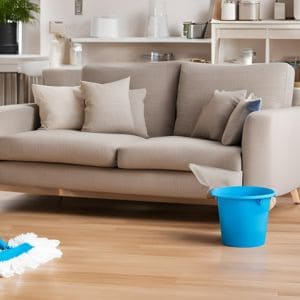
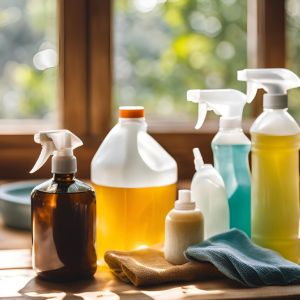
Home =>
Cleaning => Floors => Tips on How to Repair Hardwood Floor Scratches
Related Articles:
Hardwood Floor Refinishing | Repairing Your Hardwood Floors
Tips on How to Repair Hardwood Floor Scratches
by Niv Orlian
Description: Expert tips on repairing scratches in your hardwood floors.
Sponsors:
Hardwood floor scratches are inevitable. At some point,
scratches will happen. If you have hardwood flooring, it's
important that you learn how to do simple scratch repairs
yourself. However, before you start fixing any scratches, you'll
need to learn how to differentiate between scratches and gouges
on your hardwood floor.
A scratch is typically a visible, but not deep, marking on your
hardwood floor's surface. Hardwood floor scratches can be caused
by dragging furniture across the floor or by glass that has
fallen and cut the surface of the floor. A gouge, however, is
much deeper than a scratch. Think of a gouge as a "flesh wound"
a hardwood floor could sustain.
Dealing with a scratch is much different than dealing with a.
For instance, it's useless to apply hardwood floor scratch
remover on gouges.
You'll need to be sure that you really are dealing with a
scratch instead of a gouge before you can initiate any kind of
scratch repair work. Between scratches and gouges, scratches on
hardwood floors are much more common. It's near impossible to
keep hardwood floors from getting scratches.
Moving pieces of furniture across or dropping sharp objects
like glass are not the only things that can cause scratches. You
may be causing scratches on your hardwood floor when you sweep
it with a broom with not-so-soft bristles or you wipe off spills
using a hard piece of cloth.
Again, hardwood floor scratches are nearly impossible to avoid,
so the best thing you can do is learn how to deal with the
scratches, like learning how to do simple hardwood floor scratch
repairs. Repairing scratches on hardwood floors is pretty
simple; you don't have to hire a professional to do it for you.
Follow these steps on repairing hardwood floor scratches:
1. Using a fine steel wool or sandpaper, rough up the scratched
area.
2. Rub the whole length of the scratch. Cover both margins.
3. Make sure to rub in the direction of the wood grain, or rub
in a circular motion to avoid damaging the wood and floor finish
too much.
4. Dampen a soft cloth with mineral spirits. Use the soft cloth
to wipe off any wood and dust particles on the scratched area of
the floor.
5. Let the solution dry up on the floor. Depending on how big
the scratch is, the scratch removal solution and how much of it
you use, drying time may take from several minutes up to a few
hours.
6. Take a fine paintbrush, dip it in the finish originally used
on the floor and brush it across the scratched area. Wipe with a
soft cloth.
7. Be careful and gentle when you brush in the finish onto the
scratch. Too much or too little and the area will look much
different from the rest of the hardwood floor. Brush in just
enough finish so that it looks almost the same as the rest.
8. Give the new finish some time to dry. This may take between
30 minutes to a few hours.
If you followed the directions carefully, the scratch on your
hardwood floor should be gone.
Niv Orlian is an experienced Home Improvement Adviser who writes articles for his Flooring & Carpet Cleaning online guides. Visit myflooringhelper.com to learn more about how to repair Hardwood Floor Scratches.
Comment on this article or submit your tip to CreativeHomemaking.com.
Click here for a printer friendly version of this page.
Receive new article links via the Web, SMS, or instant messages via Twitter!
Recommend this article to a friend!
Search our article archives.
Click here to subscribe to our weekly newsletter.
FamilyStickers.com offers one of the largest selections of family stickers, family car decals, and stick family stickers. These easy to apply vinyl window family car stickers are available in several themes and sizes or customized to your request.
|