This post may contain affiliate links.
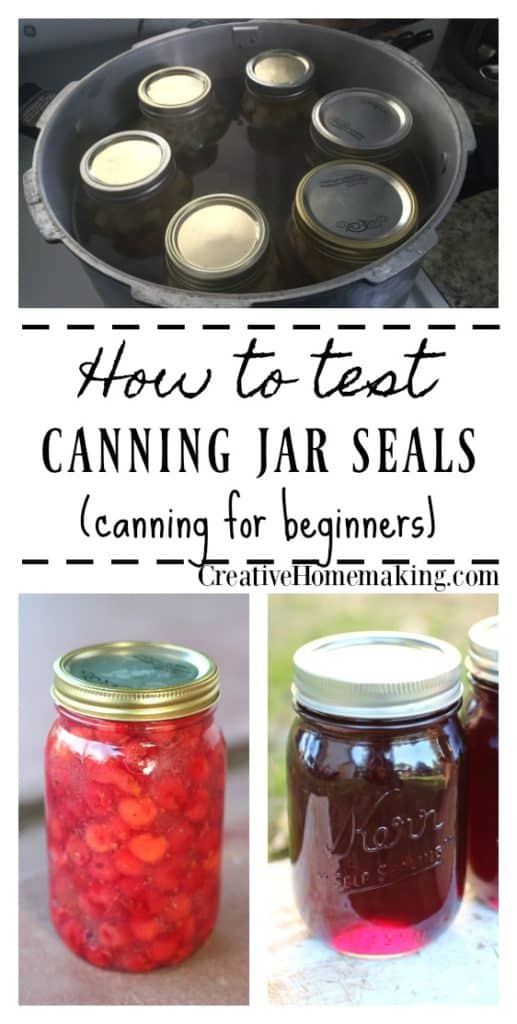
Cooling your jars and knowing how to test canning jar seals are two of the most important steps in the canning process.
A properly sealed jar is what keeps your food safe for long-term storage—so it’s important to check your seals before putting jars away.
If you’re new to canning, be sure to read my water bath canning for beginners guide and see the canning supplies you need here before getting started.
Cooling Canning Jars
After removing your jars from the canner, allow them to cool at room temperature for 12 to 24 hours.
Want to try making your own jelly at home?
Get my free guide with 8 easy, beginner-friendly jelly recipes you can confidently make.
Important tips:
- Do not re-tighten jar lids after removing from the canner
- Place jars on a towel or rack to protect countertops
- Leave space between jars for air circulation
As jars cool, you may notice:
- Food settling
- Liquid levels dropping slightly
This is normal.
If a jar loses a significant amount of liquid, do not add more liquid—just check the seal once cooled.
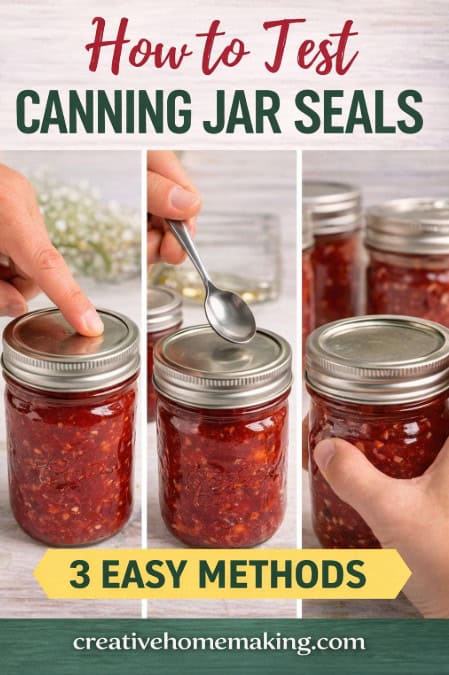
How to Test Canning Jar Seals
After jars have cooled, remove the screw bands and test seals using one of these methods:
Method 1: Press the Lid
Press the center of the lid with your finger.
- If the lid pops up and down → not sealed
- If the lid stays down → sealed
Method 2: Tap the Lid
Tap the lid with the bottom of a teaspoon.
- Dull sound → not sealed
- High-pitched sound → sealed
Method 3: Look at the Lid
Hold the jar at eye level and look across the lid.
- Lid curves slightly downward → sealed
- Lid is flat or bulging → not sealed
What to Do If a Jar Didn’t Seal
If a jar didn’t seal properly:
- Remove the lid
- Check the jar rim for chips or cracks
- Replace with a new lid
- Reprocess within 24 hours
Other options:
- Store in the refrigerator and use within a few days
- Freeze the contents instead
If freezing, you can adjust headspace to about 1½ inches
More Canning Resources
If you’re learning to can, these guides will help:
- How to sterilize canning jars
- How much headspace to leave when canning
- Raw pack vs hot pack canning
- What to do if your jelly doesn’t set
You can also browse all of my canning and preserving recipes here for more ideas.
Follow my canning and preserving board on Pinterest.