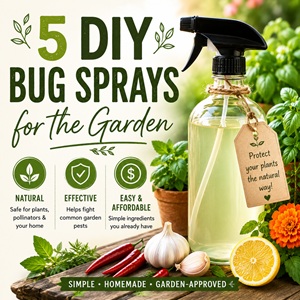
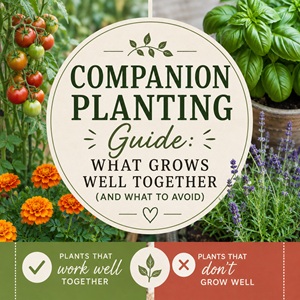
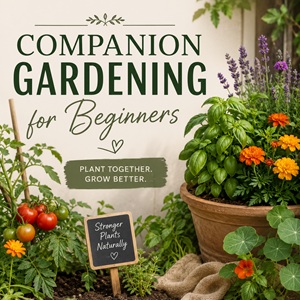
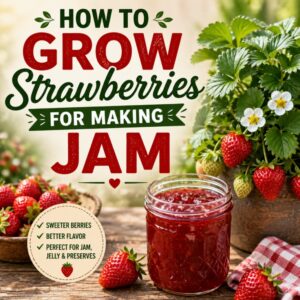
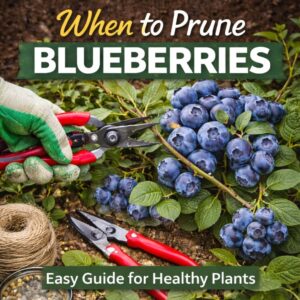
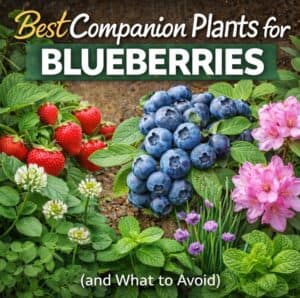
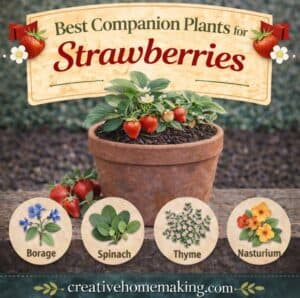
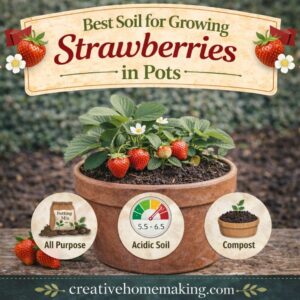
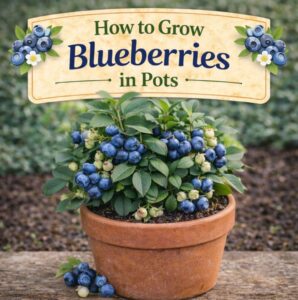
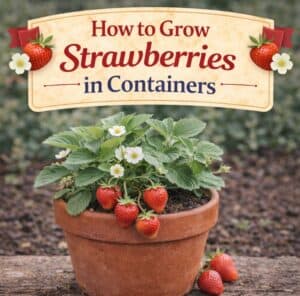
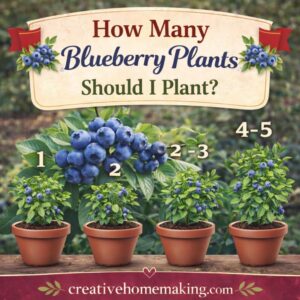
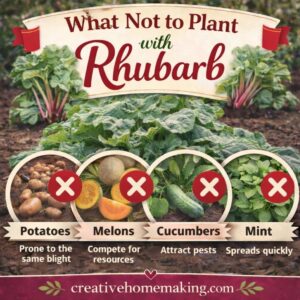
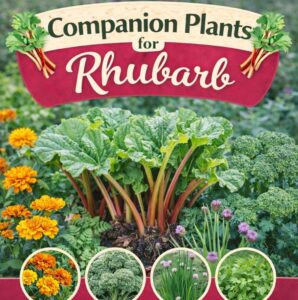
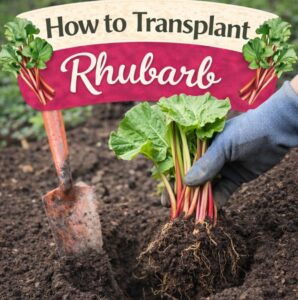
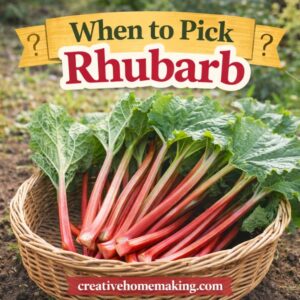
Creative Homemaking . . . Dedicated to your homemaking needs
~   Vegetable gardening, growing flowers, herbs, landscaping, composting, and more   ~
CLEANING BUDGET PLANNER STAIN REMOVAL HOME DECORATING COOKING FRUGAL LIVING
GARDENING HOLIDAYS ORGANIZE RECIPE DATABASE MESSAGE FORUMS GROCERY PRICE BOOK
FLOWER GARDENING
Planting Bare Roots
Growing Dahlias
Growing Strong Bulbs
Dividing Your Perennials
Meadows of Wildflowers
Pruning Roses
Decorative Window Boxes
HERB GARDENING
Growing Lavender
Basil Fact Sheet
Indoor Herb Garden
Ginger Growing Guide
Growing Ginseng
Growing Garlic
Craft Supplies
Wooden Letters
GARDEN
Kid-Friendly Gardening
Growing Tomatoes
Growing Strawberries
Organic Composting
Growing Asparagus
How to Make Compost
Homemade Weed Killer
CONTAINER GARDENING
Summer Container Garden
Fruits and Vegetables
Ornamental Grasses
Growing Herb Plants
TREES AND SHRUBS
Spring Pruning
Transplanting Trees
Growing Fruit Trees
Tree Selection Checklist
Easy Care Shrubs
HOLIDAY GARDENING
Christmas Cactus
Potted Christmas Trees
Easter Lilies
GARDEN RESOURCES
EZ Up Canopy
Tents
Gas Logs
Mosquito Magnet
Storage Sheds
Home => Gardening => Trees and Shrubs => Growing Japanese Red Maples from Seed
Related Articles: Maples for Autumn Colour | How to Transplant Trees

Growing Japanese Red Maples from Seed
by Michael J. McGroarty

Description: Everything you need to know about growing Japanese Red Maple trees from seed.

1. Store your seeds in a cool dry place until you are read to start stratifying them. A paper bag or envelope stored in your garage is fine.

2. Select the date you would like to plant your seedlings outside. This should be after the danger of frost has past in the spring. Here in zone 5, northern Ohio May 15th is usually a safe bet.

3. Count backwards 90 days from your planting date. With a planting date of may 15th, February 15th would be the day you want to start stratifying your seeds.

4. Stratifying is the process of tricking the seeds into thinking that they have gone through a natural cold, damp period outside. Break the wing off your seeds, and soak them in warm to hot water overnight. Use hot tap water, put the seeds in the water, then just let the water cool to room temperature with the seeds soaking in the water for 24 hours.

5. Next place the seeds in a plastic freezer bag in damp sand, peat, vermiculite, whatever you happen to have on hand. Any of these things will work. The medium you use should be damp, not soaking wet. Poke a few holes in the bag. Place the bag in your refrigerator. Do not put the bag too far back in your fridge where the seeds might freeze, you don’t want it quite that cold.

6. The bag should remain in the fridge for 90 days. Or until the seeds start to sprout. Check the bag once a week after 60 days or so. Once sprouting begins you can pick the sprouted seeds from the bag and plant them in a flat of well drained potting soil. Make sure the soil is well drained. If you’re not sure, mix in some perlite before planting. When you water the soil you want the water to run through the soil quickly.

7. When planting the sprouted seeds in the flat just barely cover the seed and the sprouted root with soil.

8. Water thoroughly after planting, but allow the soil to dry almost completely before watering again. It’s important that the soil temperature stay as close to 70 degrees F. as possible, that’s why you allow the soil to dry before watering again. A lamp shining on the flat will help to warm the soil.

9. If after 90 days your seeds are not sprouting in the bag, just sow them in a flat and treat as described in step 7.

10. Once your seedlings start to grow they’ll need sunlight to develop properly. If you have any questions visit the http://www.freeplants.com message board with your questions.

Have fun!


Comment on this article or submit your tip to CreativeHomemaking.com.
Click here for free cookbook download--great weeknight recipes!
Click here for a printer friendly version of this page.
Recommend this article to a friend!
Search our article archives.
Click here to subscribe to our weekly newsletter.
Join in a discussion or ask a question in our message forums.
Easy-to-use affordable grocery list software.
Ourstickfamily.com offers one of the largest selections of family stickers, family car decals, and stick family stickers. These easy to apply vinyl window family car stickers are available in several themes and sizes or customized to your request.


Google


Reprint Articles | Privacy Policy | Submit Article | Advertise | Affiliate Program | Contact Us
Copyright 1998 - 2008, Creative Homemaking, LLC. Clipart from CountryClipArt.com.