Tomato Pruning Made Easy: A Beginner’s Guide
 Post thumbnail
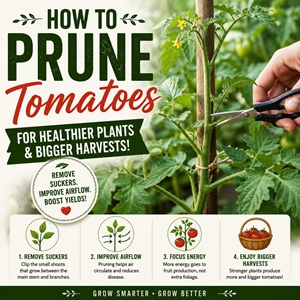
When it comes to growing tomatoes, pruning is an essential task that can help improve the overall health of the plant and increase your harvest. Pruning involves removing the suckers and excess foliage from the plant, which can help improve air circulation and sunlight penetration. This, in turn, can reduce the risk of disease…
Read More Tomato Pruning Made Easy: A Beginner’s Guide