This post may contain affiliate links.
I have been wanting to try to making and canning chicken broth or chicken stock for quite awhile.
It always seemed so intimidating, especially since most of the chicken we eat is the frozen chicken tenders.
Recently I branched out to try cooking rotisserie style chicken at home. It was so easy! And gives you some great chicken bones to make homemade chicken broth.
Canning Expertise: Rachel Paxton is a certified Master Home Food Preserver with over 25 years of hands-on experience in safe home canning and food preservation.
Want to try making your own jelly at home?
Get my free guide with 8 easy, beginner-friendly jelly recipes you can confidently make.
Chicken Stock vs. Chicken Broth
You might wonder what the difference is between chicken broth and chicken stock. The main difference is how it is prepared. Stock is made mostly from cooking chicken bones and results in a darker liquid.
Chicken broth is made from bones as well as the meat of the chicken, resulting in a lighter yellow broth. Either can be prepared with or without added vegetables, depending on your preference.
You would think that chicken broth is hard to make, but it is really just a matter of changing the way you do things. It is really not extra work at all, if you work it into your cooking routine.
Many cooks save their vegetable and chicken scraps just for making chicken broth. You can have a ziploc freezer bag set aside just for your broth fixings. Then you can make your chicken broth at your own convenience.
Preparing Chicken Broth
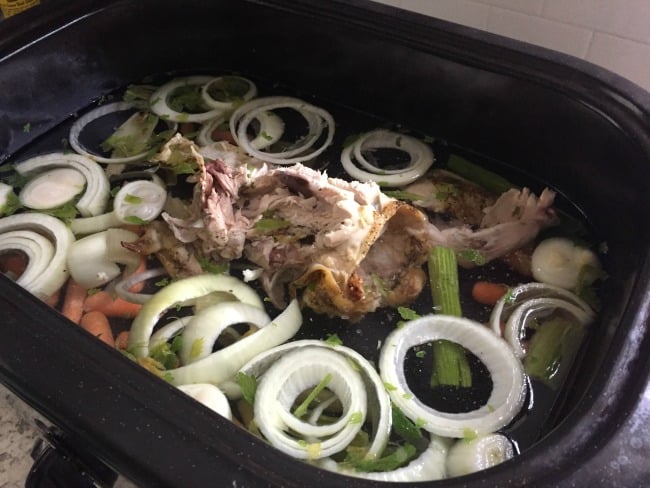
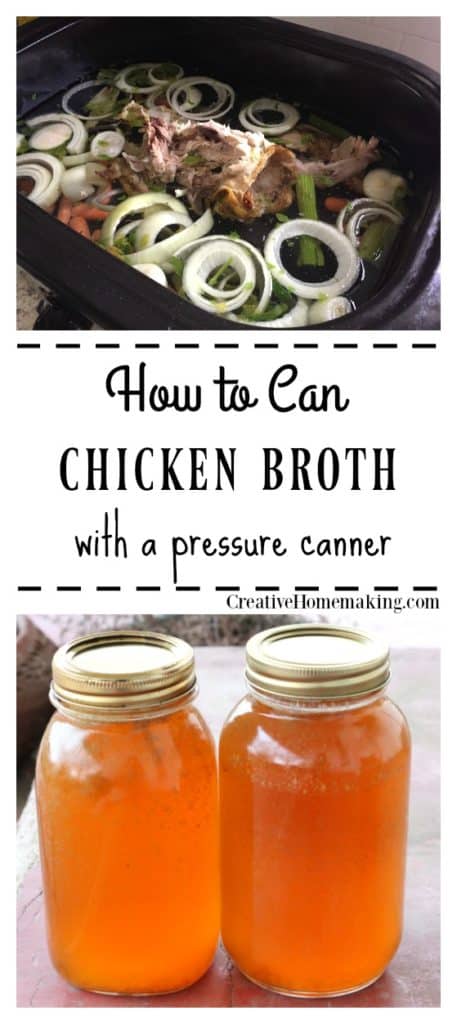
I prepared my rotisserie chicken and then saved the chicken carcass and leftover meat.
The next day I put all the leftover chicken and carcass in the largest soup pot I have and added a cut up onion, several cut up carrots, and two stalks of diced celery.
(Some people put an uncooked chicken in the pot. After the chicken is cooked, remove the meat from the bones for another recipe and then put the bones back in the pot and continue cooking).
I didn’t add any extra seasonings, there were still seasonings on the chicken from the dinner the night before.
You don’t want to add lots of seasonings to your broth. You can add seasonings when you use the broth to prepare a new meal.
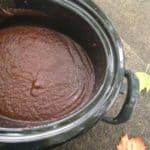
The broth simmered on the stove for about 8 hours. You don’t want it to boil…I had mine on medium heat because low heat was barely enough to keep it warm.
You can also do this part in a crock pot instead. I didn’t use my crock pot because my crock pot isn’t large enough to make a big pot of broth.
After the 8 hours I took a big spoon and scooped out all the chicken bones and vegetable pieces.
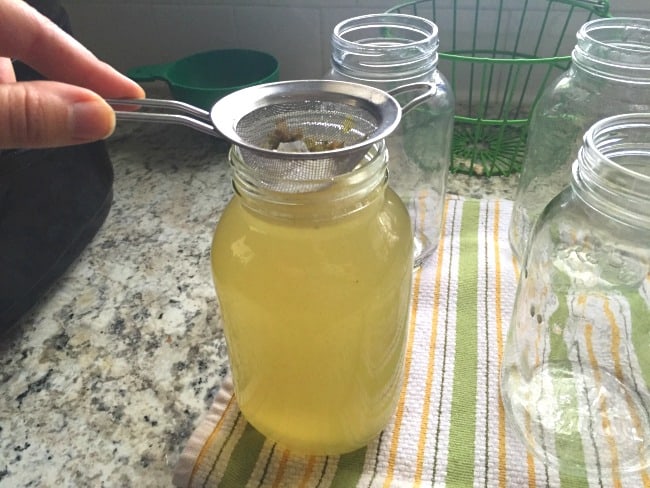
If you want a clear broth, then pour the broth through a sieve. I bought a neat fine mesh sieve last summer to make blueberry vinegar.
After the broth went through the sieve, the broth was completely clear. I can’t believe all the uses I’ve found for that little sieve!
If you have a smell sieve you can just place the sieve on top of your canning funnel when filling the jars to save time.
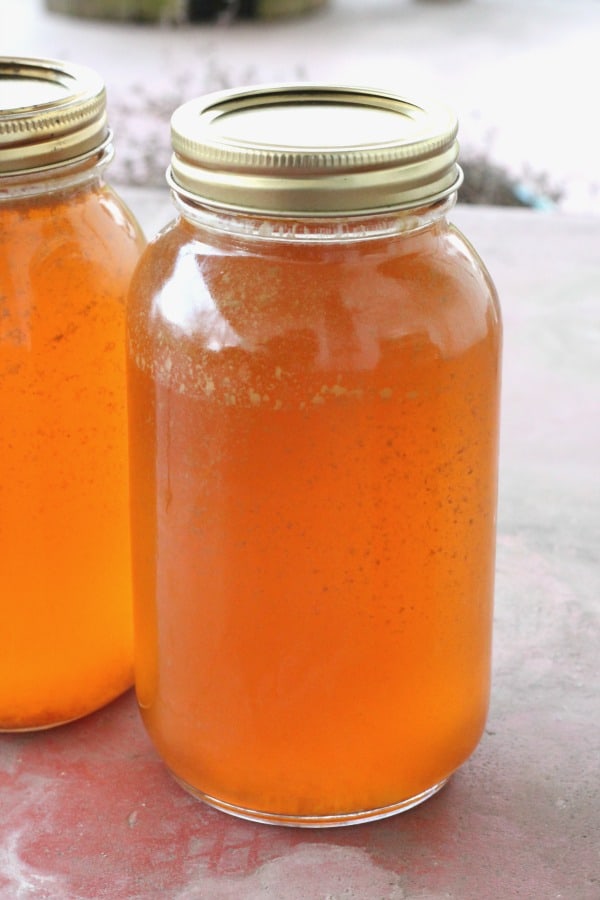
Let broth cool. If any fat floats to the top, just skim it off. Mine didn’t have any extra fat I needed to remove.
At this point you can place the broth in the refrigerator to work with later or you can go ahead and can it or freeze it. I placed mine in the refrigerator and canned it the next day.
My broth yielded about 6 pints or 3 quarts. It depends on how big your soup pot is, that is as much as mine would hold.
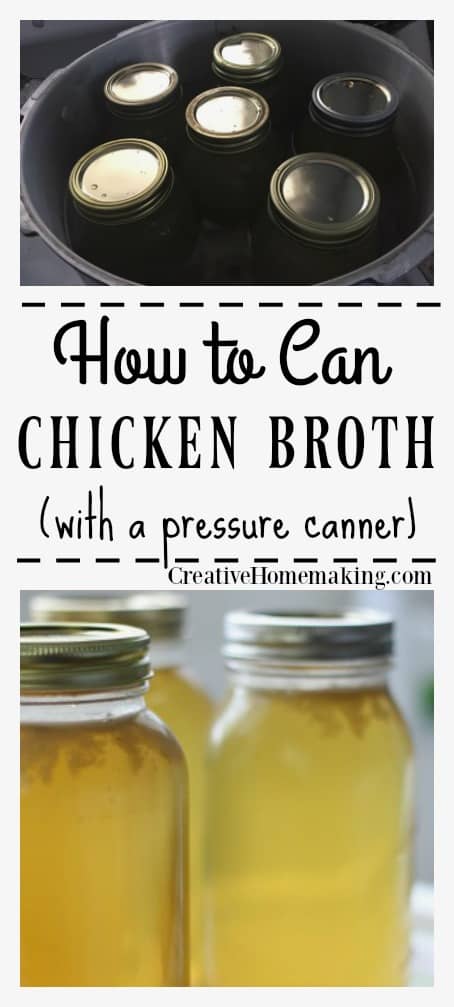
Canning Chicken Broth
The next day I put the broth back on the stove to heat it back up. I put some canning jars and lids in the dishwasher to sterilize and started heating up the water in my pressure canner.
You can’t use a boiling water canner to process these jars, you need to use a pressure canner.
After the broth is heated, you can pour the hot broth into sterilized canning jars, leaving 1 inch head space. You can easily measure the head space with this inexpensive canning funnel.
Wipe the rims of the jars with a damp paper towel or kitchen towel. A handy tip that I learned is that if you are canning anything that contains meat or fat, like this recipe, you can get grease around the rims of your jars that can’t be removed with just water.
Instead of dampening your towel with water, dampen it with white vinegar instead and then wipe the rims of the jars.
The vinegar will remove grease much better than using water. Your jars will not seal if the rims are not completely clean (ask me how I know).
Place the sterilized lids and rings on the jars finger tight. Place the prepared jars in the pressure canner that has been filled with about 3-4 inches of water.
Process jars in a pressure canner at 10 pounds pressure for 20 minutes for pints or 25 minutes for quarts.
You can also freeze the broth, either in freezer containers or in freezer ziploc bags. This is the preferred method for a lot of people, but I LOVE canning and seeing the products of my labor sitting on my pantry shelf.
Note: don’t use generic ziploc freezer bags, get the name brand ones.
I’ve had a lot of trouble with the zippers on the generic ones breaking in the freezer, and trust me you DON’T want that to happen when you have liquid in the bag.
It also a good idea to not completely rely on your freezer for storing food in case your electricity ever goes off. A portion of a neighboring community recently had their power out for 3 days!!
If you raise your own chickens and butcher any that don’t have very much meat on them or you have a rooster or two you need to get rid of, making this homemade chicken broth to make sure that meat doesn’t go to waste.
I was very happy with how my chicken broth turned out. It was VERY easy to make and I will definitely be making it again. There is nothing like homemade!
Like this recipe? You might also like this recipe for canning homemade vegetable broth.
More Pressure Canning Recipes
- Beef stew
- Barbecue sauce
- Pork and beans
- Chili
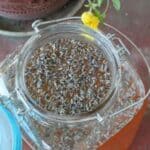
- Split pea soup
- Bean and ham soup
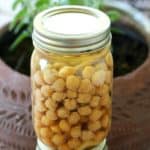
- Garbanzo beans (chick peas)
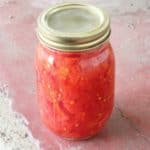
- Tomato soup canning recipe
Follow my canning and preserving board on Pinterest.
Be sure to chop the chicken bones in order to get the nutrition from the marrow. A cleaver comes in handy for this.
Thanks for the article , I have been wanting to try this for years.
Hi! The time does not change with increased elevation, but the pressure level does change. If you are using a dial gauge pressure canner, if the recipe calls for 10 lb pressure that is for elevation 1000 ft and below. For 1001-2000 ft it’s 11 lb, for 2001-4000 ft it’s 12 lb, for 4001-6000 ft it’s 13 lb, for 6001-8000 ft it’s 14 lb, and for 8001-10,000 ft it’s 15 lb. If you are using a weighted gauge pressure canner, if the recipe calls for 10 lb pressure, then for any elevation above 1000 ft you should use a pressure of 15 lb. Hope this helps! 🙂
Does the pressure and time change due to your level?
I use to always freeze my chicken broth but then I’d forget to take it out of the freeze to thaw so I’m excited to try your canning recipe!
Hi! The reason you can’t process this recipe in a water bath is because of the pH level of the chicken broth. Food with a pH level higher than 4.6 needs to be processed at a temperature higher than 212 degrees F to make sure that all the bacteria present in low acid foods is killed. You can’t get this temperature with boiling water, so that is why you need to use the pressure canner. The temp in a pressure canner reaches 240 degrees F. Hope this helps! 🙂
Why cant you water can this recipe just curious for the difference ! Thanks
Hi Katy! You can sign up for my weekly newsletter here: https://creativehomemaking.com/newsletter/
How do I subscribe to your blog?